

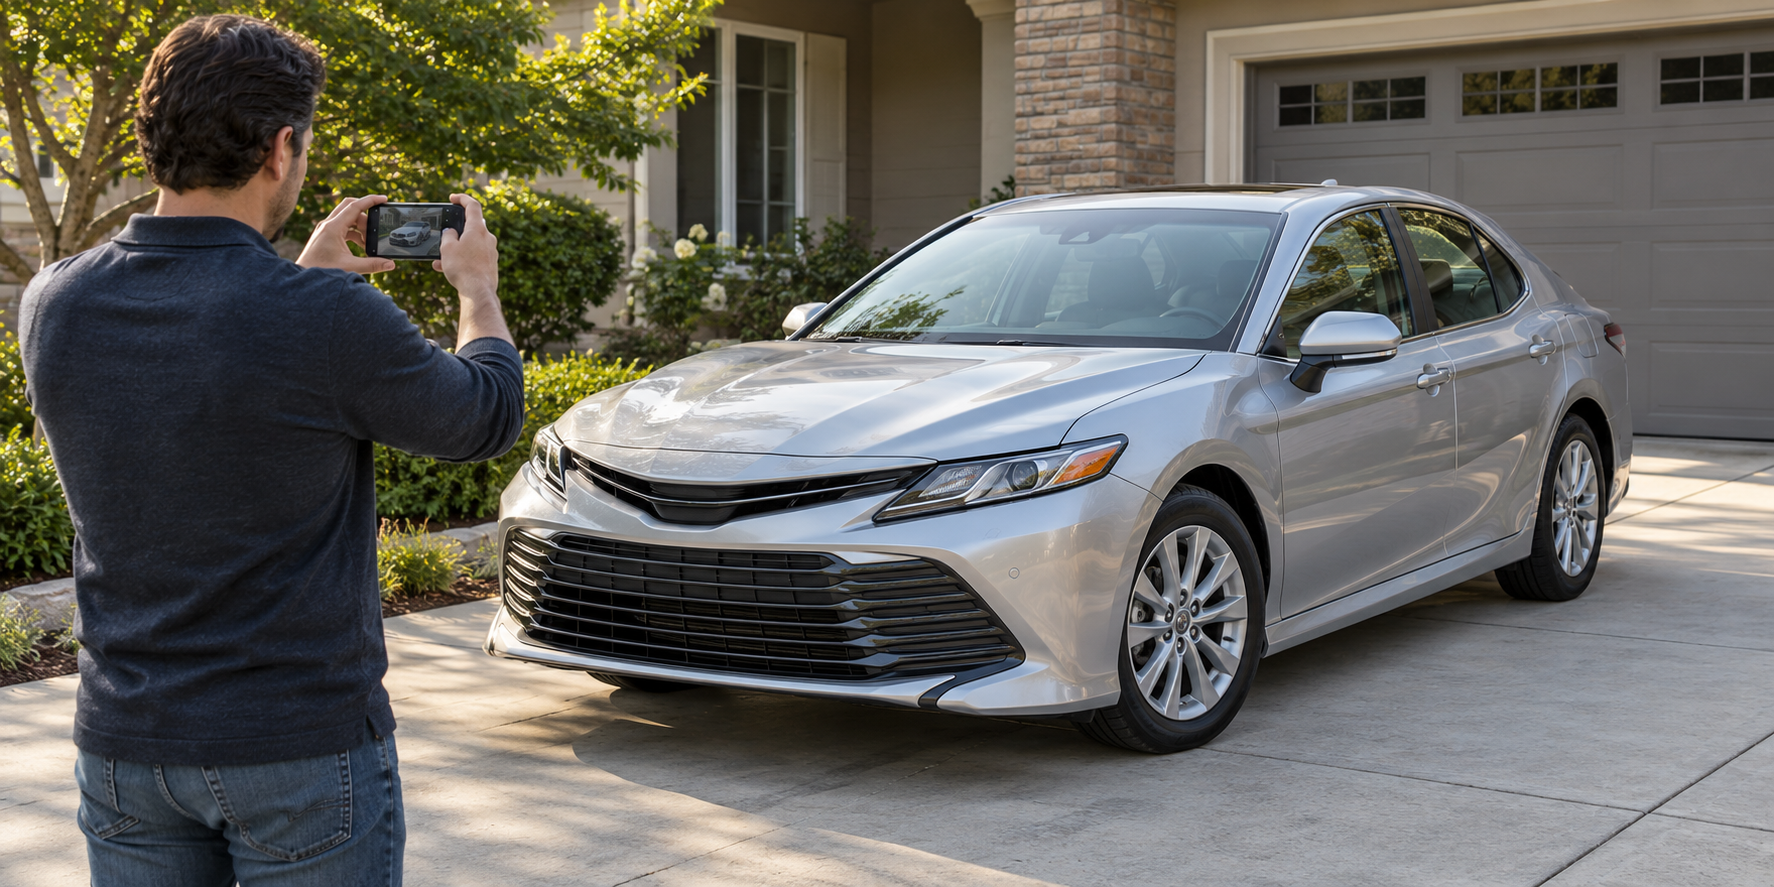
Before the keys change hands, give yourself a clear record of how your vehicle looks. A few thoughtful photos can make the pickup inspection easier and give you something useful to compare when the car arrives.
You do not need a professional camera or a complicated app. A smartphone, good light, and a consistent walk around the vehicle are enough to build a practical photo record. The goal is to show both the whole car and the details that could otherwise be easy to miss.
Start with a clean car and useful light
Wash the exterior before pickup when practical. Dust, mud, and heavy road grime can hide small marks; water droplets and harsh reflections can make them harder to photograph. Let the surface dry, wipe your phone lens, and check each image before moving on.
Soft daylight is helpful. If bright sunshine reflects off a panel, shift your position and take another angle. For an evening pickup, choose a safe, well-lit location and tell the driver if visibility limits what you can inspect. Never step into traffic or climb onto the transporter to get a better picture.
The photos to take before pickup
Use this as a suggested shot list, rather than a fixed number of required photos. A larger vehicle, existing damage, or unusual accessories may call for more images.
- Four corner views: Photograph the front-left, front-right, rear-left, and rear-right corners. Stand far enough back to keep the entire vehicle in each frame.
- Each side, front, and rear: Take straight-on views so doors, bumpers, and body panels are easy to compare later.
- Wheels and visible lower panels: Capture each wheel and the accessible bumper edges and rocker panels. Stay on the ground and out of the loading area.
- Glass, mirrors, and lights: Include the windshield, rear glass, side mirrors, and visible light housings.
- Roof and upper surfaces: Photograph what you can safely see from ground level. Do not stand on the vehicle or use an unstable object to reach higher.
- Existing marks: Take both a wider location photo and a close-up of scratches, dents, chips, or scuffs.
- Interior and odometer: Keep a simple record of the cabin and displayed mileage. These are useful personal records; they do not expand the carrier’s inspection scope or coverage.
Give every close-up some context

A close-up can show a scratch clearly while leaving everyone guessing where it is. Take one photo that shows the entire door or bumper, then move closer for detail. If glare hides the mark, take a second angle rather than relying on a single image.
For example, an existing scuff on the lower passenger door should have a full-side view, a door view, and a detail photo. That sequence makes the location easier to understand without editing arrows onto your only original copy.
Keep the originals together
Create separate albums or folders labelled “Before pickup” and “At delivery.” Retain the original files with their available date and time information, and back them up somewhere you can access later. Check that your phone’s clock is correct before you start.
Avoid filters, beauty effects, or edits that change how the paint looks. If you crop or annotate an image to explain something, keep the unedited original too. A short walk-around video can add context, but still photos are easier to compare panel by panel.
Photos support the inspection paperwork
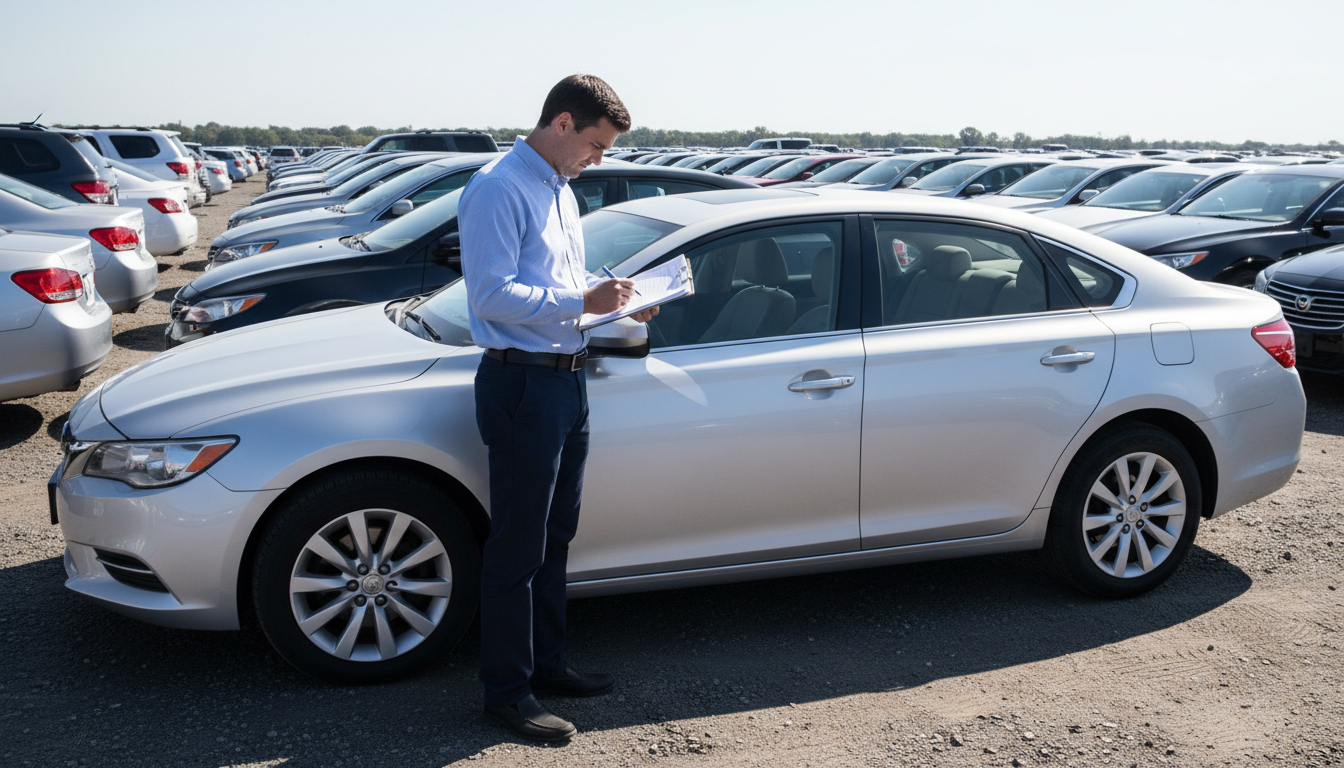
Walk around the vehicle with the driver at pickup. Point out existing marks and review how they are recorded on the carrier’s condition report or bill of lading before signing. Ask for a readable copy and keep it with your photos.
Your photo album supports that record; it does not replace the joint inspection or the carrier’s documentation. For a closer look at the paperwork, read our guide to the auto transport bill of lading.
Repeat the same views at delivery
After unloading, inspect the vehicle with the driver while it is safely parked. Open your pickup album and repeat the same angles. Compare the panels, wheels, glass, and any areas you documented closely before departure.
If you notice a new mark, photograph it clearly, point it out to the driver, and ask that it be recorded on the delivery paperwork before signing. Keep copies of the completed documents and promptly contact your AAS representative for help with the next steps. Documentation helps explain a concern, but photos alone do not establish its cause or guarantee a claim outcome.
If someone else handles the handoff
Send your representative the pickup album and this checklist in advance. Make sure they know to allow time for the inspection, review the condition notes, and obtain a copy of the paperwork. A rushed handoff can leave gaps that are difficult to reconstruct later.
A little preparation makes the handoff clearer
Charge your phone, clear enough storage for new photos, and keep the shipment reference and contact details handy. Take the pictures shortly before the vehicle is handed over, then keep the files until the shipment and any related concerns are resolved.
For the rest of your preparation, see our car shipping checklist. Planning a shipment? Allstates Auto Shipping can help you work through the transport details. Call (855) 313-3171 for a quote. Already booked? Use the representative or support contact provided with your order.
Further reading: AAS Shipping guide the short list above is a practical AAS recommendation.





Leave a Reply